Orchestral sample libraries for the beginner | Part I: Wet vs Dry. This will be my first in a series of posts where I share some of the key concepts that I use when composing and producing orchestral-based music using orchestral sample libraries. Please note: This series is orchestral sample libraries for the beginner. If you are just getting started, and you’re interested in learning more about how to compose orchestral music using your DAW (digital audio workstation), and you want to understand some of the basics of orchestral sample libraries, then this is for you
To kick things off, I’m going to start at the source, and talk about how the samples are recorded and what this means to us as composers and producers. To be clear, I’m not going to get into the microphone, EQ or preamp selections, I’m more talking about the space the orchestra is in. One thing that surprised me when I first started getting into orchestral work, was that the room that an orchestra is recorded in, is a big part of the overall sound. When you go to the Symphony to hear an orchestra perform, you’re not just hearing the sound of the instruments, you’re also hearing the sound of the room (i.e. Symphony Hall). All that lush, beautiful reverb contributes to the overall experience. This is why so much effort is put into the acoustic treatment of a Symphony Hall and why music can sound dramatically different from room to room. When you’re sitting in the Symphony Hall listening to an orchestra perform, you’re never just hearing the sound the of instruments alone – you are hearing the sound of the room as well.
Wet Sample Library
Looking at the photo of an orchestra on stage below, imagine them playing a single short note and how it would sound within the room. You would not just hear the instrument, you’d be hearing all the room ambience (reverb, reflections, echos) as well.
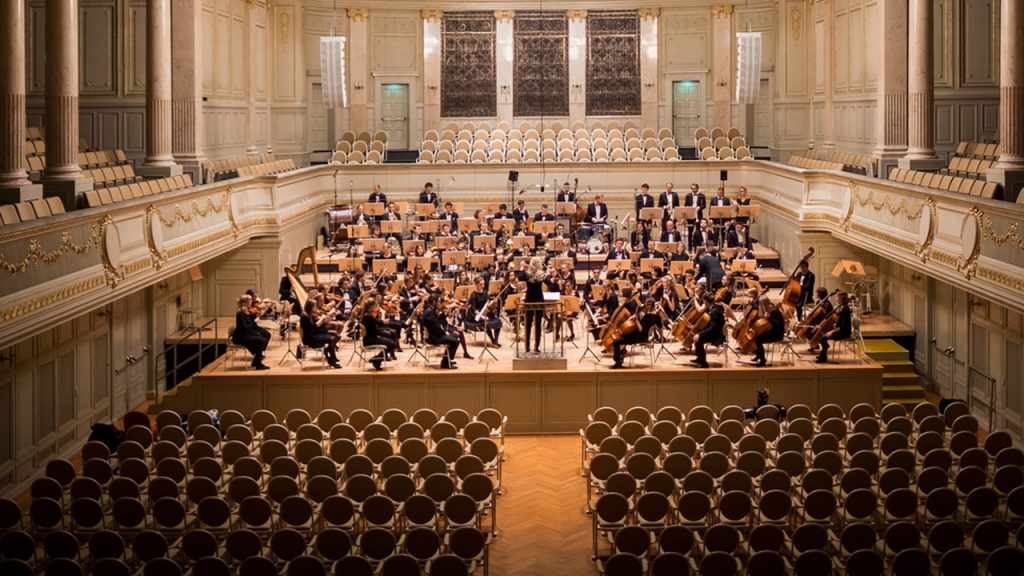
To relate this directly to the sample world, a sample library that includes the sound of the room in the sample itself, is referred to as a “Wet Library;” or, more specifically: “The samples are recorded Wet” so they will include the room sound. The company Spitfire records many of their orchestral libraries in Air Studios in London. As the room sound is so important to an orchestra, sample library companies will often call this out as a selling point – as Spitfire does:
Another popular sample library that is recorded wet, is the Metropolis Ark series (1-4) from Orchestral Tools. In this case, these libraries were recorded at the Teldex Scoring Stage in Berlin.
And the Cinematic Studio series is yet another great “Wet” library.
Mic Placement – Wet Library
I’m not going to go into detail about mic placement, but, one could assume that when Spitfire and other companies record their orchestras “wet,” they are likely placing microphones both near the instruments, as well as throughout the room itself – thereby capturing both the instrument and the space at the same time. Many sample libraries that are recorded this way, will include buttons and sliders in the software’s interface to control the volume of these various microphones so that you can hear more, or less, of the room. Keep in mind that many libraries will also charge extra for these additional microphone controls. At first it might not seem like a big deal, but, having the ability to turn the room sound up or down can help you dial in the sound you are after – particularly if you are trying to blend with other samples that were recorded in completely different rooms – so you don’t hear too many reverbs washing around when the different room sounds are heard together. (Think about it: how many orchestras are recorded in completely different rooms?) Speaking of the benefits of less room sound, lets talk about sample libraries that are recorded dry….
Dry Sample Library
So, if a wet sample library includes the sound of the room, a dry sample library would be described as a recording that does not include the room sound. In the case of a dry recording, you are hearing just the up-close, direct sound of the instrument itself – no reverb. Then, you as the composer/producer will add your own reverb to the dry samples and place the orchestra in a new room of your own!
Mic Placement – Dry Library
It would seem that recording a dry sample should require less microphones, because, the goal is to place the mic as close to the instrument sound source as possible. Therefore, there is no need for additional mics to capture the sound of the room. Again, this is not a through review of mic placements, and I’m sure the engineers are using a wide array of different mics in different positions for both styles of recording, but, the main idea I’m trying to get across is that the goal of the dry sample is to get as close to the sound of the instrument as possible.
Examples of Dry sample libraries include LA Scoring Strings by Audio Bro (aka LASS) as well as the Vienna Symphonic Libraries.
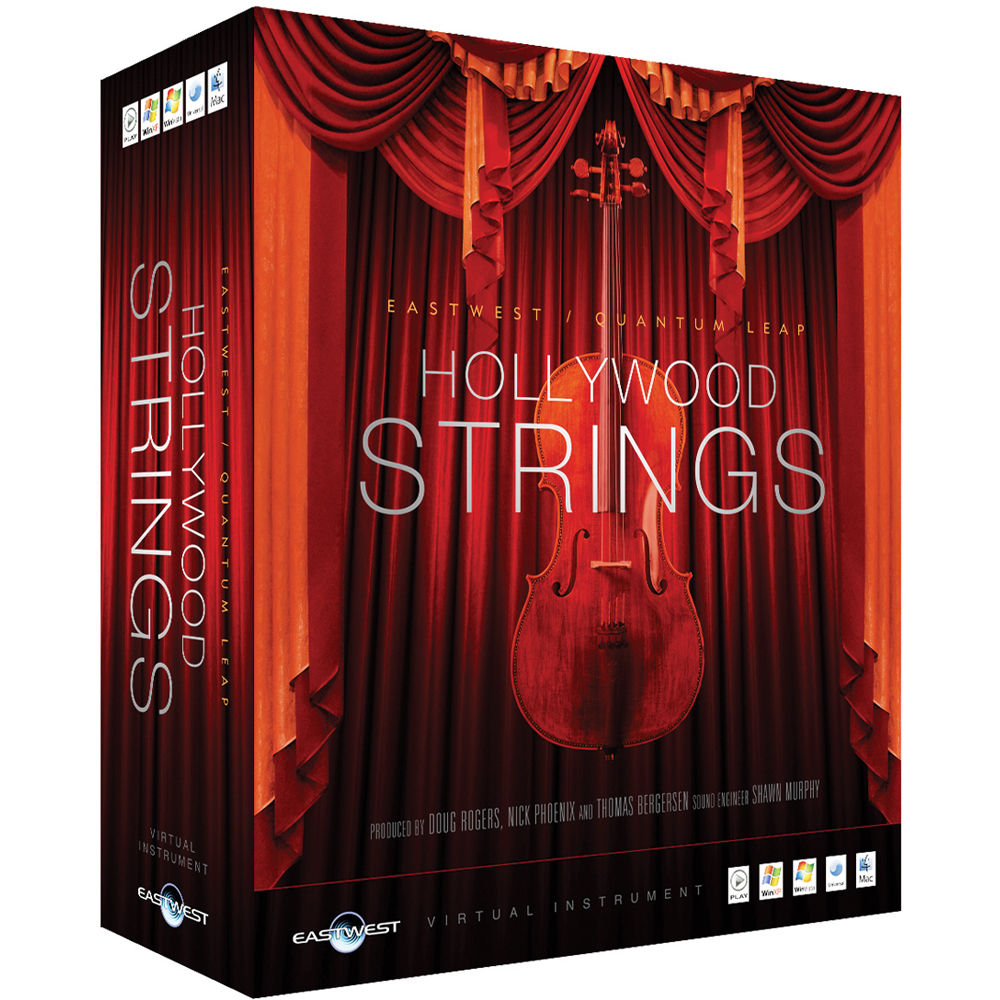
Another very popular Dry library is Hollywood Strings by East West Quantum Leap.
Blending
What about using both? In fact this is my method. Especially if I’m working on a denser mix, like an epic trailer type piece, I find that I really do need both styles. I will often use the Wet library as my main sound, but, as more instruments are added to the mix, and the orchestra gets lost trying to compete with so many sounds, I will then raise up the sound of the dry mix to bring the orchestra forward. The attack and definition the dry library is so important and has a much more dramatic effect vs just adjusting the mic placement of a Wet library. The balance of these two is really powerful.
Wet vs Dry: Why pick one over the other?
So, why would you choose a wet library vs a dry one? If a wet library already includes the reverb, and it’s a natural reverb from a real room, wouldn’t that be better than having to add your own (digital) reverb to a dry sample? On the other hand, if you want to mix sounds from various different libraries, which were all recorded in different rooms, could it be difficult to manage all the different room reverbs and wouldn’t that start to sound unnatural – as if the orchestra is not playing in the same room together? Both of these opinions are valid, which is why the selection of using one or the other becomes a matter of choice and best answered by your own personal workflow and the sound you are attempting to achieve.
For example: I believe it can also depend on the style of music and production you are after. If you are planning to do more traditional orchestral music, particularly a less “epic” or dense style which can have many different instruments competing for attention, I think the Wet style could work well for you. It will likely give a more natural, lush sound and, to be honest: it will can be much more inspiring dry library. (Dry libraries can sound harsh out-of-the-box until you work to add your own reverb.) As well, Wet could work with slower pieces, or pieces that are cinematic in nature (e.g. pads, ambient, new age, etc).
On the flip side, if you want to do more epic music, or mixing hybrid styles and/or music with lots of instruments, I find that the Wet libraries can get a little lost in the mix. Because, their built-in reverb, gives the Wet library a more “set back” sound; this is because reverb naturally moves the sound source back in the mix and can reduce it’s attack and definition. And, as referenced above, if you are mixing many different Wet instruments, orchestral or otherwise, all that different room sounds might start to cloud the mix even more and make it more difficult to create a cohesive sound. (I will emphasize here: it could make it more difficult, especially when you are first starting out; but it’s certainly not impossible to make blended Wet libraries sound fantastic!) Also, intimate music, like a smaller quartet, or even solo instruments, often sound “more intimate” when the sound is closer and less washed out by the sound of the room; so, that’s another option for the Dry library.
Summary
As I mention above, I do use both Wet and Dry libraries together in the same piece, particularly for a more denser mix with lots of instruments. I like the big, natural sound of the Wet library, however, I find that I need the attack and definition of a Dry library to help the orchestra cut through the mix. Blending the 2 approaches gives me the perfect sound. However, as this post is about orchestral sample libraries for a beginner, and assuming you don’t want to run out and buy one Wet and one Dry library, I’d probably suggest starting with a library that is recorded Wet. For one, they usually do include various mic positions, so you should be able to turn the room sound down if you want a dryer sound. (Keep in mind: i find that even when turning the room sound way down, I can still hear it much more than in a library that is recorded 100% Dry.) As well, I find that Dry libraries can take more time to make sound “good.” You’ll need to buy a very good reverb (ideally an convolution reverb, like Spaces, that helps recreate the sound of the instruments inside a room). You might have to play around with EQ, along with MIDI parameters (e.g. velocity) as well as the reverb, to get the Dry samples to blend well with the rest of your mix. This is something you’ll eventually master, but, as a beginner, it can be a bit daunting. A Wet library will allow you to install and go – they sound great out-of-the-box and can be very inspiring to play.
As a reminder: the Wet libraries will give a more natural yet “set back” and less defined sound, while the dry library could be less warm and “big,” sounding, but provides the attack of the instrument and therefore moves the sound more “up front” in the mix.
Thanks for reading orchestral sample libraries for a beginner! Be sure to check back for the rest of the series and if you’re just getting started with producing music in your home studio, be sure to check out my posts on studio set up and acoustic treatment.
Watch the Video!
